Learn DaVinci Resolve with AI
DaVinci Resolve is one of the most powerful video editors ever made. It is also one of the hardest to learn. Talk To Your Computer sees your timeline and answers your questions in real time.
Why DaVinci Resolve Has a Steep Learning Curve
DaVinci Resolve is not one application. It is six applications duct-taped together behind a row of page tabs at the bottom of your screen. The Cut page and the Edit page both edit video but behave differently. The Color page uses a node-based grading system that looks nothing like the layer-based approach in Premiere or Final Cut. The Fusion page is a full compositing environment with its own logic. Most beginners accidentally end up on the wrong page and cannot figure out why the tools they just used have disappeared.
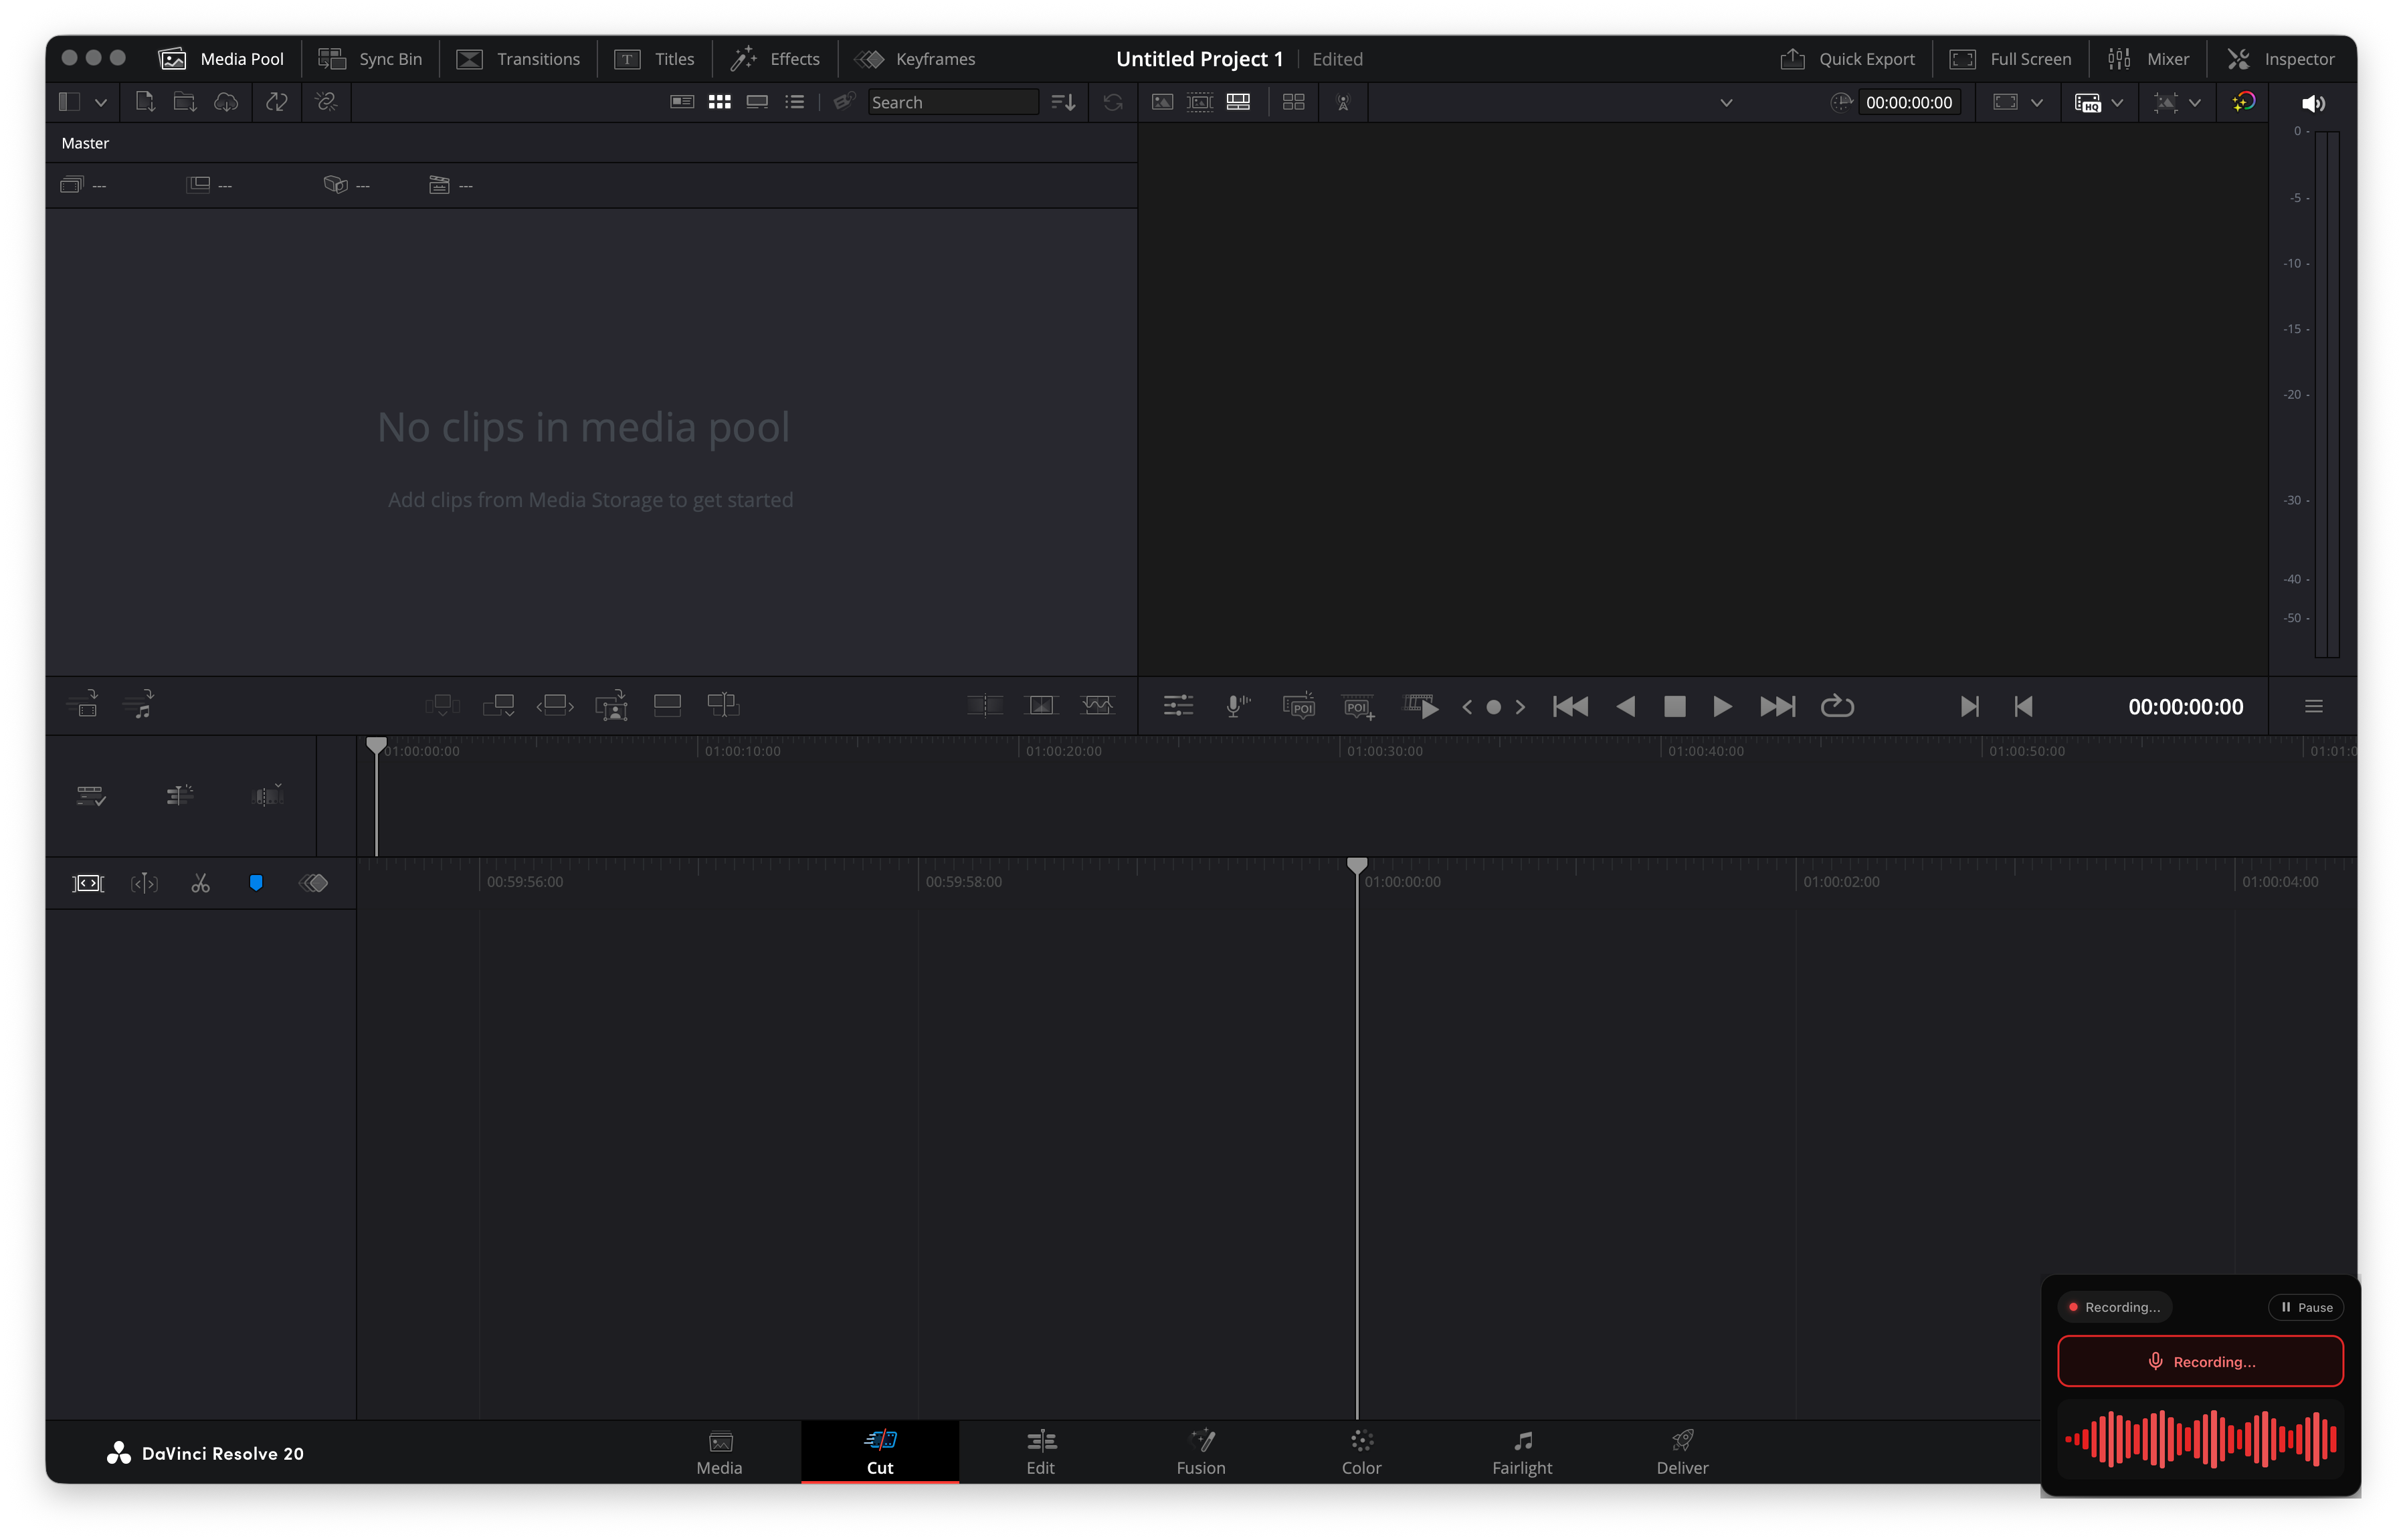
The inspector panel changes its contents depending on which page you are on. Timeline behaviors differ between Cut and Edit. The render settings page — Deliver — has so many codec and format options that most people just pick the first preset and hope for the best. Even basic operations like changing the timeline frame rate after you have started a project require hunting through menus that are not where you would expect them to be.
YouTube tutorials help, but they are always for a different version, a different layout, or a different workflow than yours. When you are staring at your own timeline trying to figure out why your LUT is affecting every clip, you need an answer for your screen, not a pre-recorded walkthrough of someone else's.
How Talk To Your Computer Changes This
Share your screen with Talk To Your Computer, open DaVinci Resolve, and just ask. The AI sees your actual timeline, your actual node graph, your actual export settings. When you say "why is this LUT affecting all my clips?" it can see that you applied it at the timeline level instead of the clip level and tell you exactly where to move it.
No more pausing tutorials at 4:37, squinting at someone else's UI, and trying to find the same button in your version. The answer is about your project, your screen, right now. Ask about color nodes, ask where to find a specific render setting, ask why your audio is out of sync. Hold the mic button in the floating window, speak, get the answer, keep editing.
What You Can Ask
Color Grading Without a Film School Degree
The Color page is where DaVinci Resolve's reputation was built, and it is also where most beginners hit a wall. The node-based grading system is fundamentally different from the adjustment-layer approach you may know from Premiere or Lightroom. Each node is a processing step, and the order matters. A serial node after a parallel node produces a different result than the reverse. None of this is explained on screen.
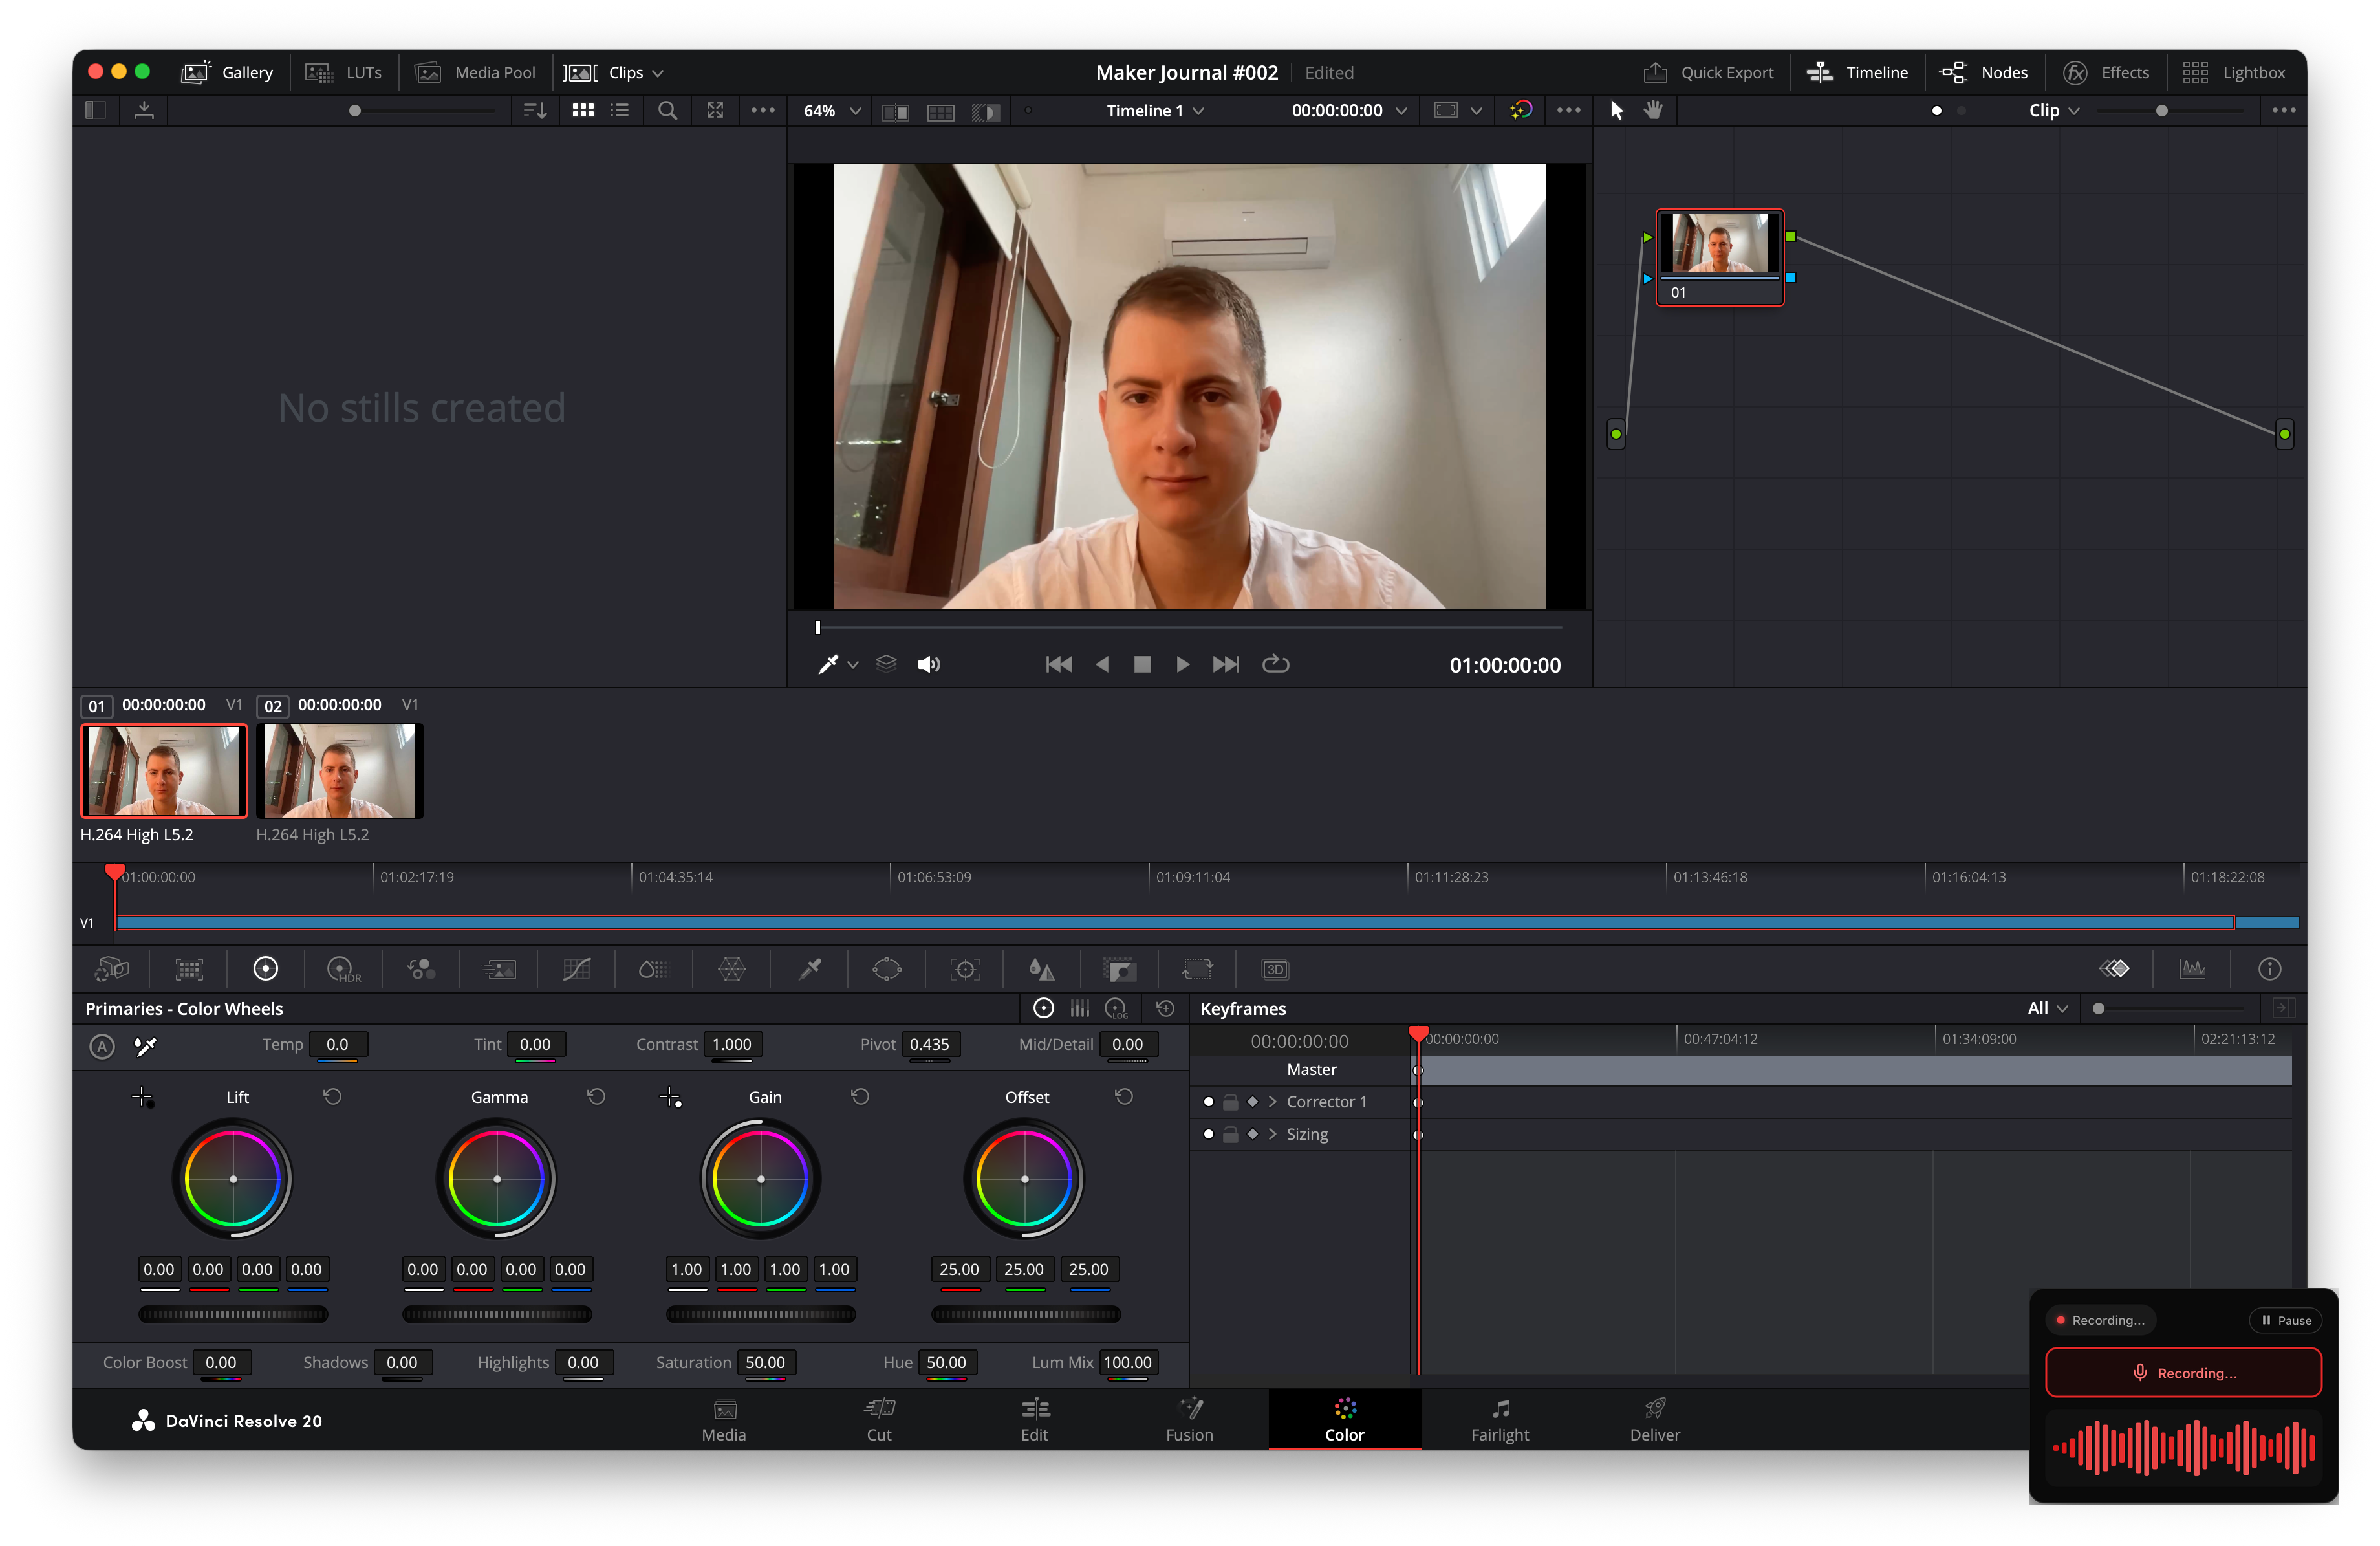
With Talk To Your Computer watching your Color page, you can ask things like "what does this node do?" or "why does my footage look washed out after adding this second node?" and get a direct answer based on your actual node tree. It turns the most intimidating page in the application into a conversation.
Exporting Without Guessing
The Deliver page has dozens of presets and hundreds of individual settings. H.264 or H.265? Which profile level? CBR or VBR? What data rate for YouTube? Most people choose "YouTube" from the preset list and accept whatever comes out, even when the file size is three times what it should be or the quality is noticeably soft.

Ask Talk To Your Computer while you are on the Deliver page: "what settings should I use to upload this to Instagram at the best quality?" and get specific codec, resolution, and bitrate recommendations based on what it can see in your project settings. No more exporting three times to get it right.
The Multi-Page Workflow Explained
Most DaVinci Resolve confusion comes from not understanding which page to use when. The Cut page is designed for fast assembly and rough cuts. The Edit page is for precise timeline work. The Fusion page handles compositing and motion graphics. The Color page is for grading. The Fairlight page is a full digital audio workstation. You do not need all of them for every project, but knowing which one to open for a specific task saves enormous time.
When you are unsure, just ask: "I want to add text that moves across the screen — should I do this in Edit or Fusion?" Talk To Your Computer can see which page you are on and suggest whether to stay or switch, and explain why.
Try it free — no install needed
Share your screen. Hold the mic button. Ask anything.
Get Started Free